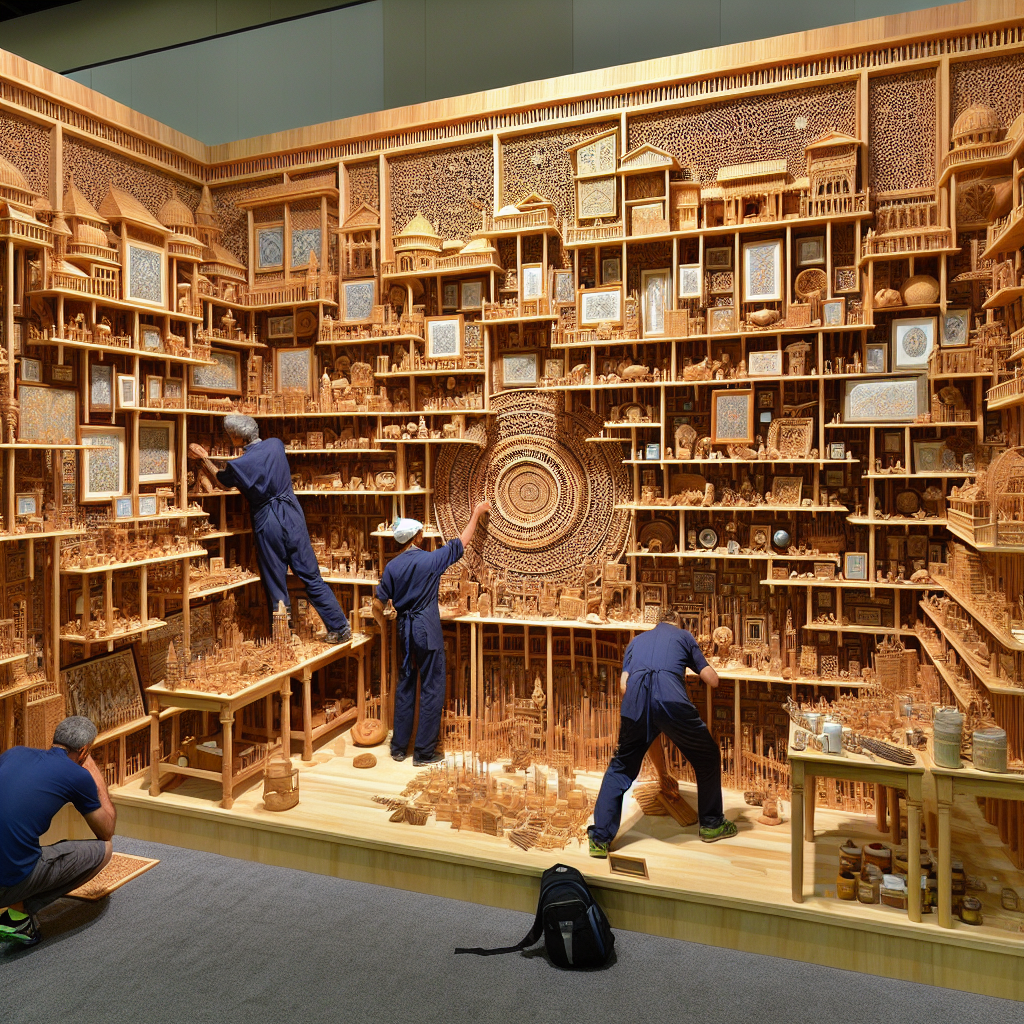
How to Build Your Own Craft Show Display Walls
Craft shows are the perfect opportunity for artisans to showcase their handiwork and attract buyers who appreciate unique and handmade products. However, having a standout display is just as crucial as the quality of the crafts themselves.
If you’re looking to create an eye-catching vendor booth, building your own craft show display walls can give your space the professional edge it needs. Here’s a step-by-step guide to constructing your DIY walls that are both functional and stylish.
Materials and Tools Needed
Before you begin constructing your display walls, you’ll need to gather the necessary materials and tools. You’ll need:
- Lightweight plywood or foam boards
- Hinges or brackets for folding
- Screws and a screwdriver
- Paint or fabric for covering
- Velcro or hooks for hanging items
- A saw for cutting boards to size
- Measuring tape
Make sure to choose materials that are easy to transport and assemble, as you’ll likely be setting up and breaking down your display walls frequently.
Designing Your Walls
Layout Considerations
Before cutting or assembling anything, sketch out the design of your craft show display walls. Consider the size of your booth and the layout that will best showcase your items. Do you need shelves, or will hooks suffice? Will your walls be freestanding, or will they need support? Answering these questions will help you create a functional design tailored to your needs.
Aesthetic Appeal
Remember, the look of your display walls can influence a customer’s perception of your brand. Choose a color scheme and materials that complement your crafts and enhance their appeal. If you’re not sure, neutral colors like white or gray offer a clean backdrop for most products.
Building the Walls
Once you have your design and materials ready, it’s time to start building. Cut your plywood or foam boards to the desired size. Attach hinges or brackets to the edges of the boards so they can fold for easy transport. If you’re using fabric, staple or glue it onto the boards for a finished look. Add Velcro, hooks, or shelves to hang or display your crafts.
Finishing Touches
Personalization
Once your walls are built, personalize them. Paint your business logo, attach decorative elements, or use lighting to highlight certain products. This personal touch will not only draw attention but also give your booth a memorable identity.
Practical Considerations
Ensure that your display walls are stable and secure. You may need to add weights or supports to prevent them from tipping over. Also, consider the flow of traffic through your booth and arrange your walls to encourage visitors to move through and view everything you have to offer.
Ready for the Show
With your new DIY craft show display walls, you’re ready to make a statement at your next event. Not only will you save money by building them yourself, but you’ll also have walls that are perfectly suited to your products and brand.
Remember, a great display can be the difference between someone passing by and someone stopping to shop. So put in the time, add a dash of creativity, and watch as your DIY craft show display walls turn heads and draw crowds.


